There were a number of concerns dealing with this installation. Metal edges are very sharp to run electric cables from the lower unit through the housing so this could turn into a long-term issue if vibration were to cut through the electrics as the cable snakes through the twist and turns to get out to an outlet. I had to create a Gromit strategy around the whole that they pre-cut in the hood and you bend to remove if you want to run your electric line through there.
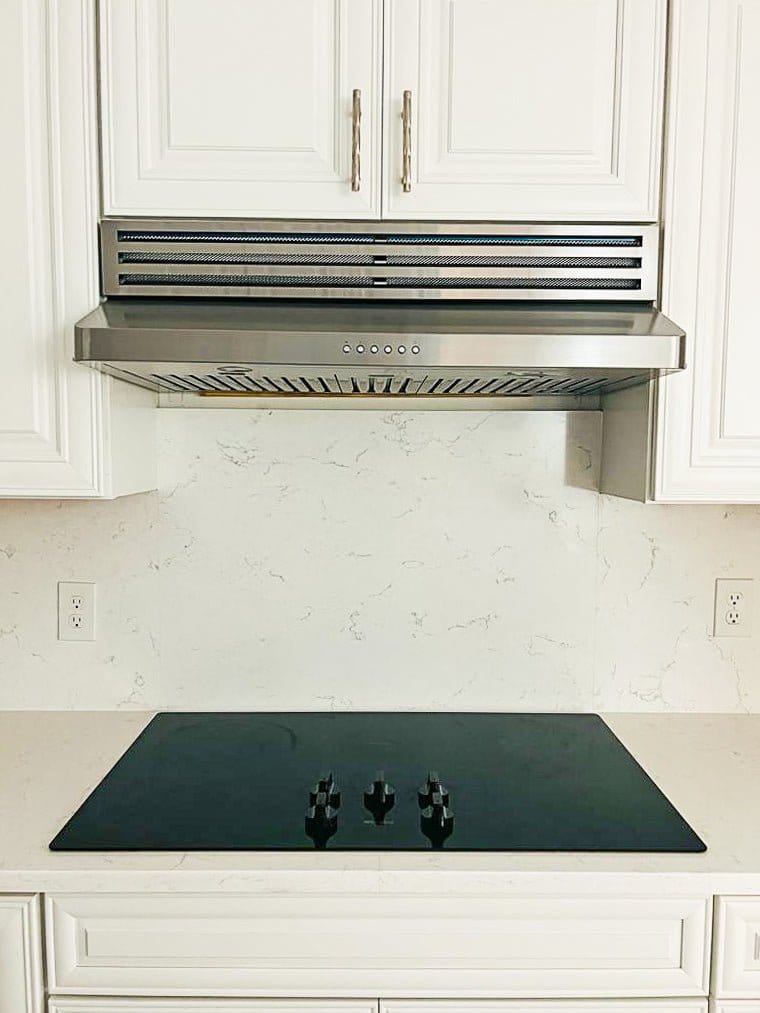
There was no gasket between the hood and the filter box, with the only suggestion that some sort of double-sided tape be purchased. Practically speaking this is not realistic trying to get the hood pushed up into the position to meet with the filter box without potentially getting things off center and thereby compromising efforts to put the 4 screws in place..
Moving on to the four screws that are supposed to hold the range up to the filter box was quite difficult without creating extensions or having a magnetic screwdriver that’s at least 12 inches long to get up inside and join the two units. Moreover, the metal of the filter box is so thin that it was easy for me to strip out the first screw.
Directions for this process were minimal at best, and with no videos available,it was a good thing that I had significant background to help me problem-solve solutions.
Another consideration is that there are many holes and cracks between jointed components that the air pressure from the lower unit could blow through instead of being forced through the filter, itself. There is no gasket between the filter head and the inside box so Air can blow out many areas as this would eventually result in a large amount of grease escaping and collecting on various surfaces, not caught by the filter.
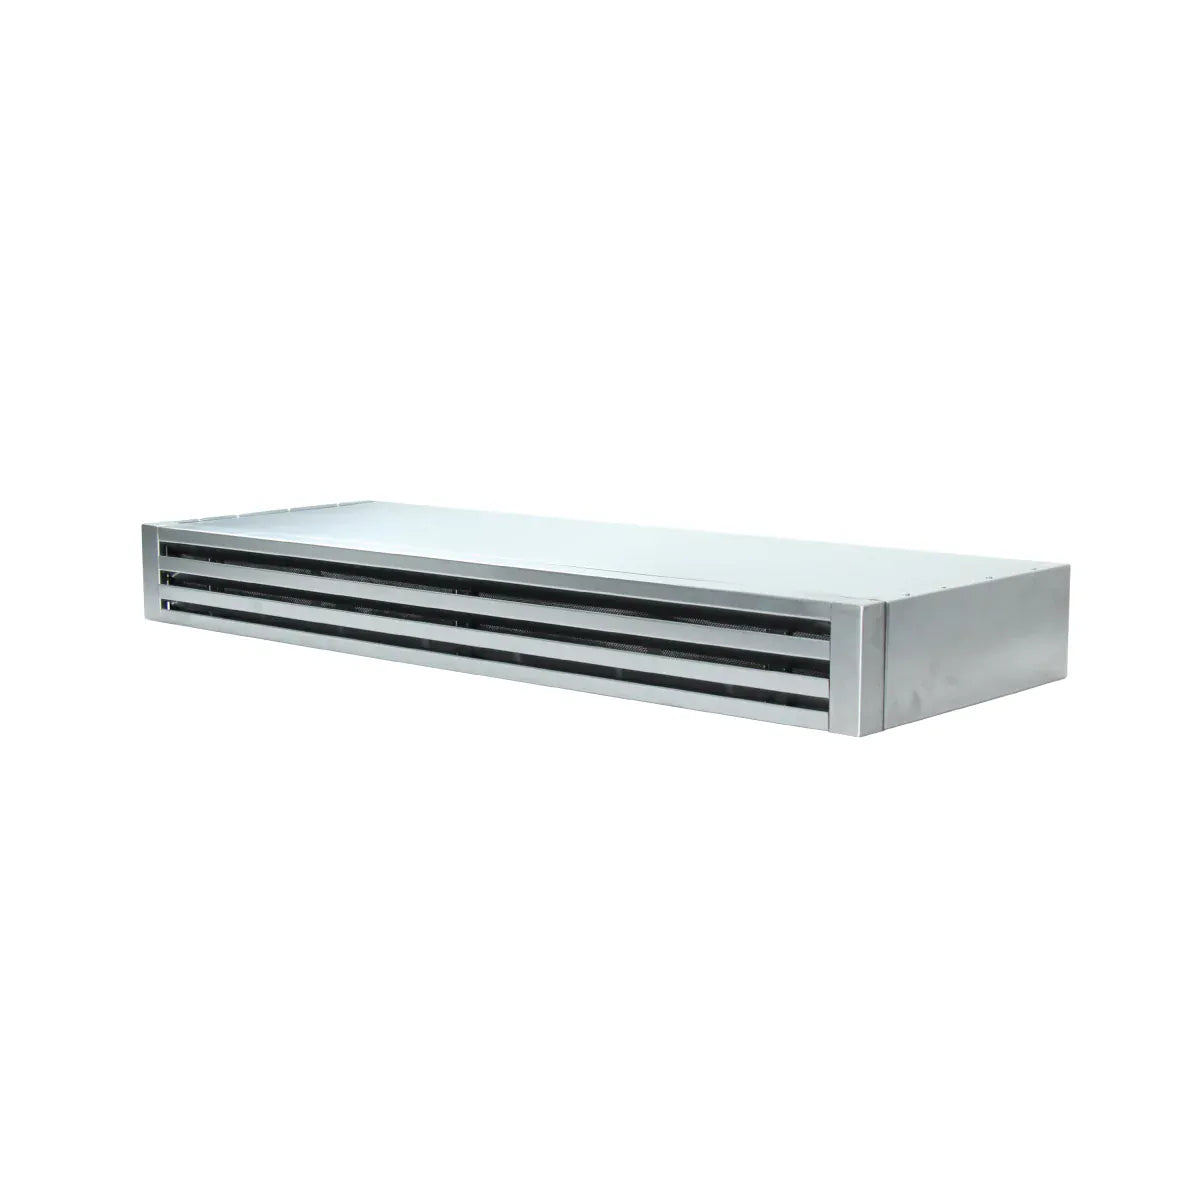
The filter itself does not have a pre-filter beyond what is on the hood and it seems this would be a very practical strategy to help the carbon filter last longer. It is very thin and thus questionable in it’s overall effectiveness.